Minecraft server on Atom based (10 years old) machine
So, I had this old machine nobody wanted – Intel(R) Atom(TM) CPU D510 @ 1.66GHz based daemon with 4GB of RAM and huge – 140 GB – HDD.
I have decided to turn it into Minecraft server for our household. If you want to do something similar, here it goes. All the steps to get it running.
1. OS
I have started with Ubuntu 20.04, and failed miserably. The issue was related to EFI boot loader (I guess). To be honest, I didn’t dig too much. After spending 1h trying to run my newly installed system, watching some crazy videos on YouTube, I have decided I will switch to my old good pal – Debian. I have decided to go with version 10. It worked like a charm. At least to some extent ;) Eventually, what I have ended up with was working machine that properly booted into CLI. Note that in order to save resources I have decided to skip installation of any GUI based environment.
2. Network configuration
I have one of these USB dongles for WiFi access laying around (TP-LINK TL-WN725N – to be precise). Perfect candidate to make my new, shiny server as movable as possible. And, I failed miserably :) It doesn’t work as expected. I guess, I need to spend more time on figuring it out. Eventually I decided to get network access via Ethernet card connected to ASUS RP-AC55 – it is set into Bridge mode, and works perfectly fine.
Sure there were some caveats here (while configuring the things). Eventually I ended up with configuration like this
-- 8< --- /etc/network/interfaces --- 8< --
# This file describes the network interfaces available on your system
# and how to activate them. For more information, see interfaces(5).

source /etc/network/interfaces.d/*

# The loopback network interface
auto lo
iface lo inet loopback

# Here goes my card configuration
allow-hotplug enp5s0
iface enp5s0 inet dhcp
-- 8< --- /etc/network/interfaces --- 8< --
To get the name of interface I used: ip a – it lists your network interfaces.
3. Installing requirements – Minecraft server
In order to get Minecraft you need to get it from the net. Here, the easiest way was to install lynx. Note that I was working on server installation (no GUI) and had no idea where the server file can be found. If you know the address of server.jar, you can skip this step.
> apt-get install lynx
Then, navigate to google.com: lynx google.com, search for “Minecraft server download” and download file server.jar.
> curl -O https://launcher.mojang.com/v1/objects/bb2b6b1aefcd70dfd1892149ac3a215f6c636b07/server.jar
4. Installing requirements – Open JDK
Minecraft server is a Java based application. You need JDK to run it. So, you have to install it as well
> apt-get install openjdk-11-jdk
5. Installing requirements – USB WiFi dongle related stuff
At first, I wanted to access network via USB dongle. Here, you will need to put some effort in order to get it working.
# Get interfaces and look for your WiFi device

> ip list

# Install things for building the driver

> apt install build-essential
> apt-get install linux-headers-$(uname -r)
> apt-get install dkms

# Get sources of the driver

> git clone https://github.com/lwfinger/rtl8188eu.git
> cd rtl8188eu/
> make
> make install
Then, reboot your machine. Once it is started, you can create configuration file – it failed for me though, I can’t access my WiFi access point. Maybe the issue here is related to the distance between my machine and WiFi access point?
allow-hotplug wlan0
iface wlan0 inet dhcp
       wpa-ssid your_SSID
       wpa-psk your_pass
Maybe I will play a little bit more with this one, but I am not sure whether it pays of.
6. Configuring Minecraft server
Create user account
> groupadd -r minecraft
> useradd -r -g minecraft -d "/var/minecraft" -s "/bin/bash" minecraft
Create place for your server
> mkdir -p /var/minecraft/server
> chown -R minecraft.minecraft /var/minecraft
Make sure to put server.jar and eula.txt inside /var/minecraft/server
-- 8< --- eula.txt --- 8< --
#By changing the setting below to TRUE you are indicating your agreement to our EULA (https://account.mojang.com/documents/minecraft_eula).
#Sat Jun 06 08:34:51 EDT 2020
eula=true
-- 8< --- eula.txt --- 8< --
You are ready to run it
> su minecraft
> cd /var/minecraft/server
> java -jar server.jar
7. Installing mcrcon
If you want to shut down your server gracefully, I suggest using mcrcon. You can find it here: https://github.com/Tiiffi/mcrcon. To compile it, simply do
> git clone https://github.com/Tiiffi/mcrcon.git
> cd mcrcon
> make
> cp mcrcon /var/minecraft/server
We will use it later on.
8. Making sure server starts after reboot
Create wrapper script: /var/minecraft/server/stop_server.sh
#!/bin/bash

# Here, I am using port 8080 and password = pssword but you can play with other settings.

/var/minecraft/server/mcrcon -H localhost -P 8080 -p pssword -w 5 "say Server is restarting!" save-all stop
Create file: /etc/systemd/system/minecraft.service and put the content below there.
[Unit]
Description=Minecraft Server

Wants=network.target
After=network.target

[Service]
User=minecraft
Group=minecraft
Nice=5
KillMode=none
SuccessExitStatus=0 1

ProtectHome=true
ProtectSystem=full
PrivateDevices=true
NoNewPrivileges=true
PrivateTmp=true
InaccessibleDirectories=/root /sys /srv -/opt /media -/lost+found
ReadWriteDirectories=/var/minecraft/server
WorkingDirectory=/var/minecraft/server
ExecStart=/usr/bin/java -jar server.jar nogui
ExecStop=/var/minecraft/server/stop_server.sh

[Install]
WantedBy=multi-user.target
I have taken the idea from here: https://teilgedanken.de/Blog/post/setting-up-a-minecraft-server-using-systemd/
Make sure you have added service to startup services
systemctl enable minecraft
9. Customise Minecraft settings
You can alter settings of the server by changing file: /var/minecraft/server/server.properties
#Minecraft server properties
#Sat Jun 06 09:40:47 EDT 2020
broadcast-rcon-to-ops=true
view-distance=10
max-build-height=256
server-ip=
rcon.port=8080
level-seed=
gamemode=creative
server-port=25565
allow-nether=true
enable-command-block=false
enable-rcon=true
enable-query=false
op-permission-level=4
prevent-proxy-connections=false
generator-settings=
resource-pack=
rcon.password=pssword
level-name=world
player-idle-timeout=0
motd=A Minecraft Server
query.port=25565
force-gamemode=false
hardcore=false
white-list=false
broadcast-console-to-ops=true
pvp=true
spawn-npcs=true
generate-structures=true
spawn-animals=true
snooper-enabled=true
difficulty=easy
function-permission-level=2
network-compression-threshold=256
level-type=default
spawn-monsters=false
max-tick-time=60000
enforce-whitelist=false
use-native-transport=true
max-players=20
resource-pack-sha1=
spawn-protection=16
online-mode=true
allow-flight=true
max-world-size=29999984
10. Make sure to add IP address reservation on your router
This way you will make sure that your server will get the same IP address each time it connects to network.
11. Reboot and play :)
and it doesn’t even kill the machine :)
  PID USER      PR  NI    VIRT    RES    SHR S  %CPU  %MEM     TIME+ COMMAND
  415 minecra+  25   5 4689372 732308  27772 S  15.9  18.2  33:45.37 java
  914 michalo   20   0   11092   3704   3112 R   0.3   0.1   0:00.11 top
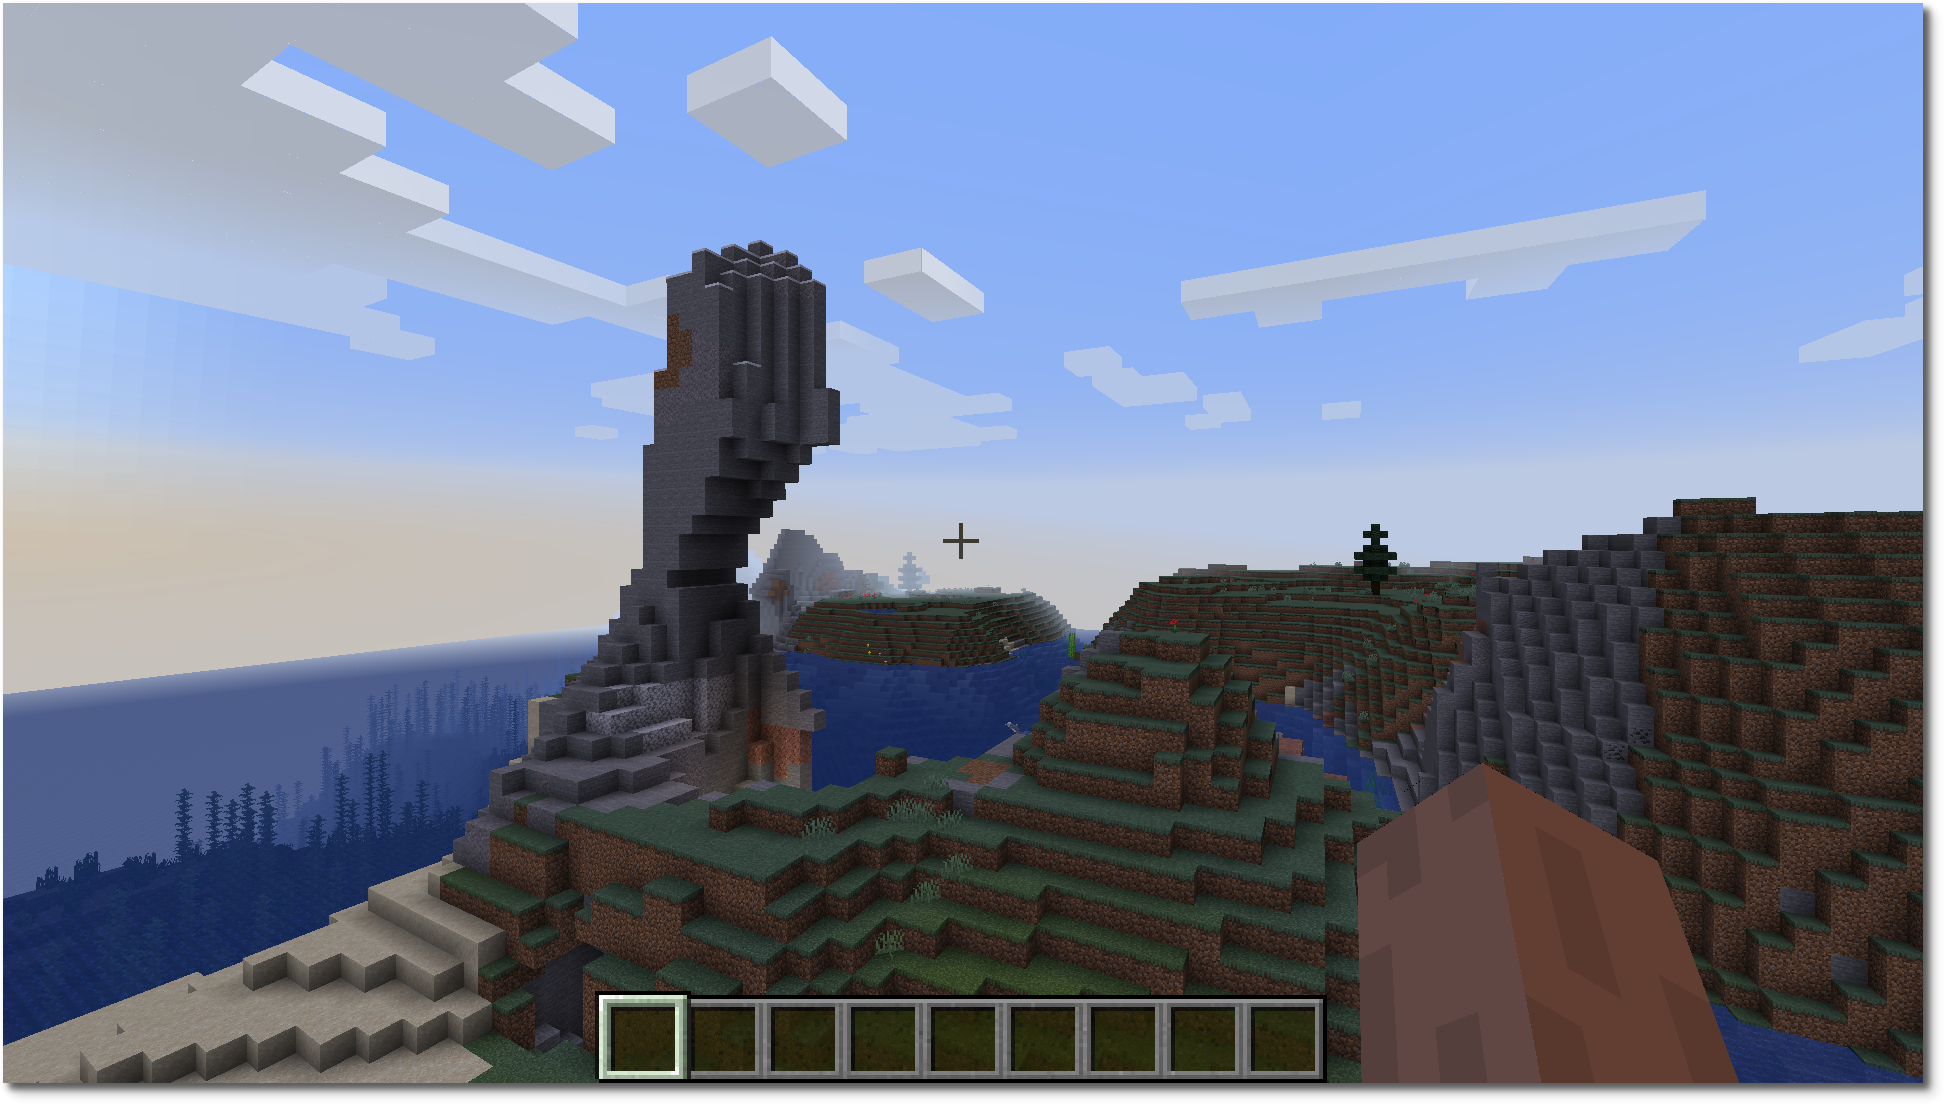
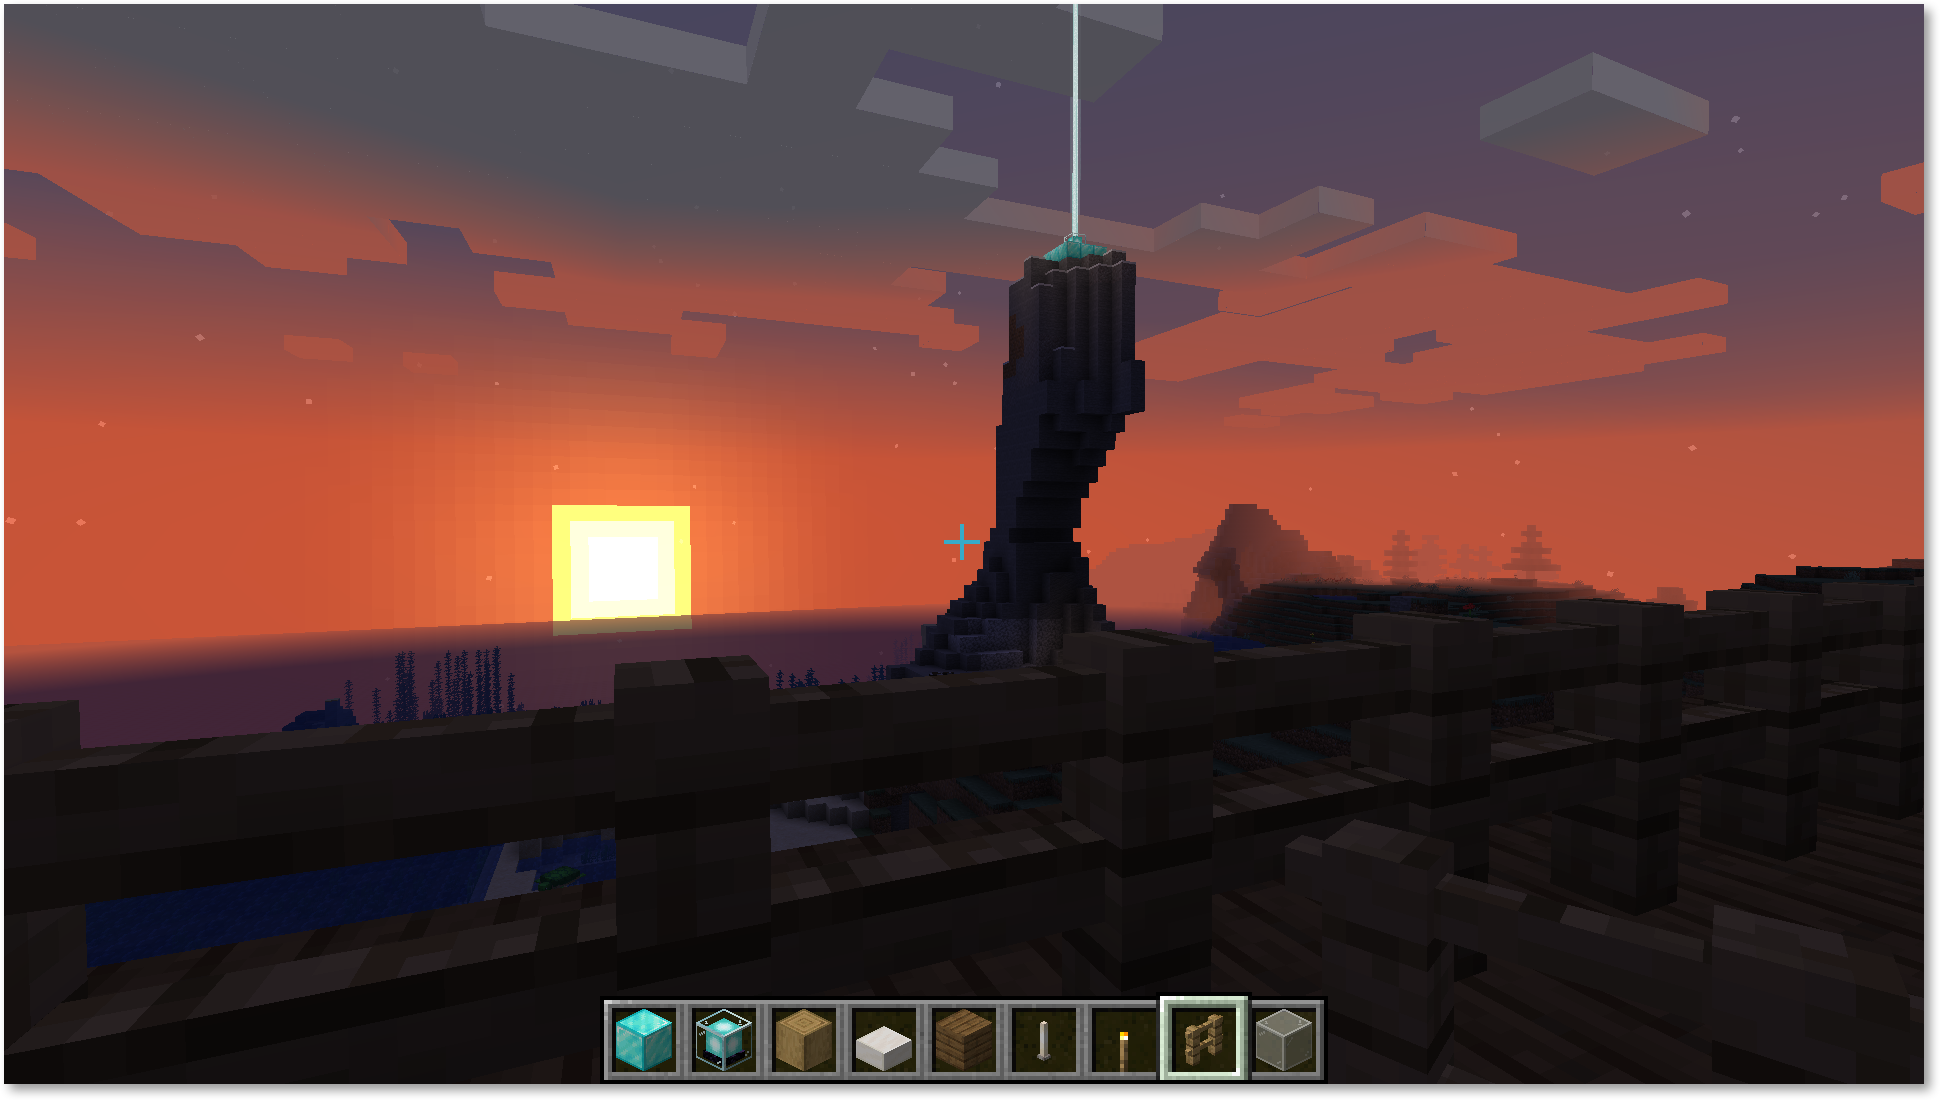
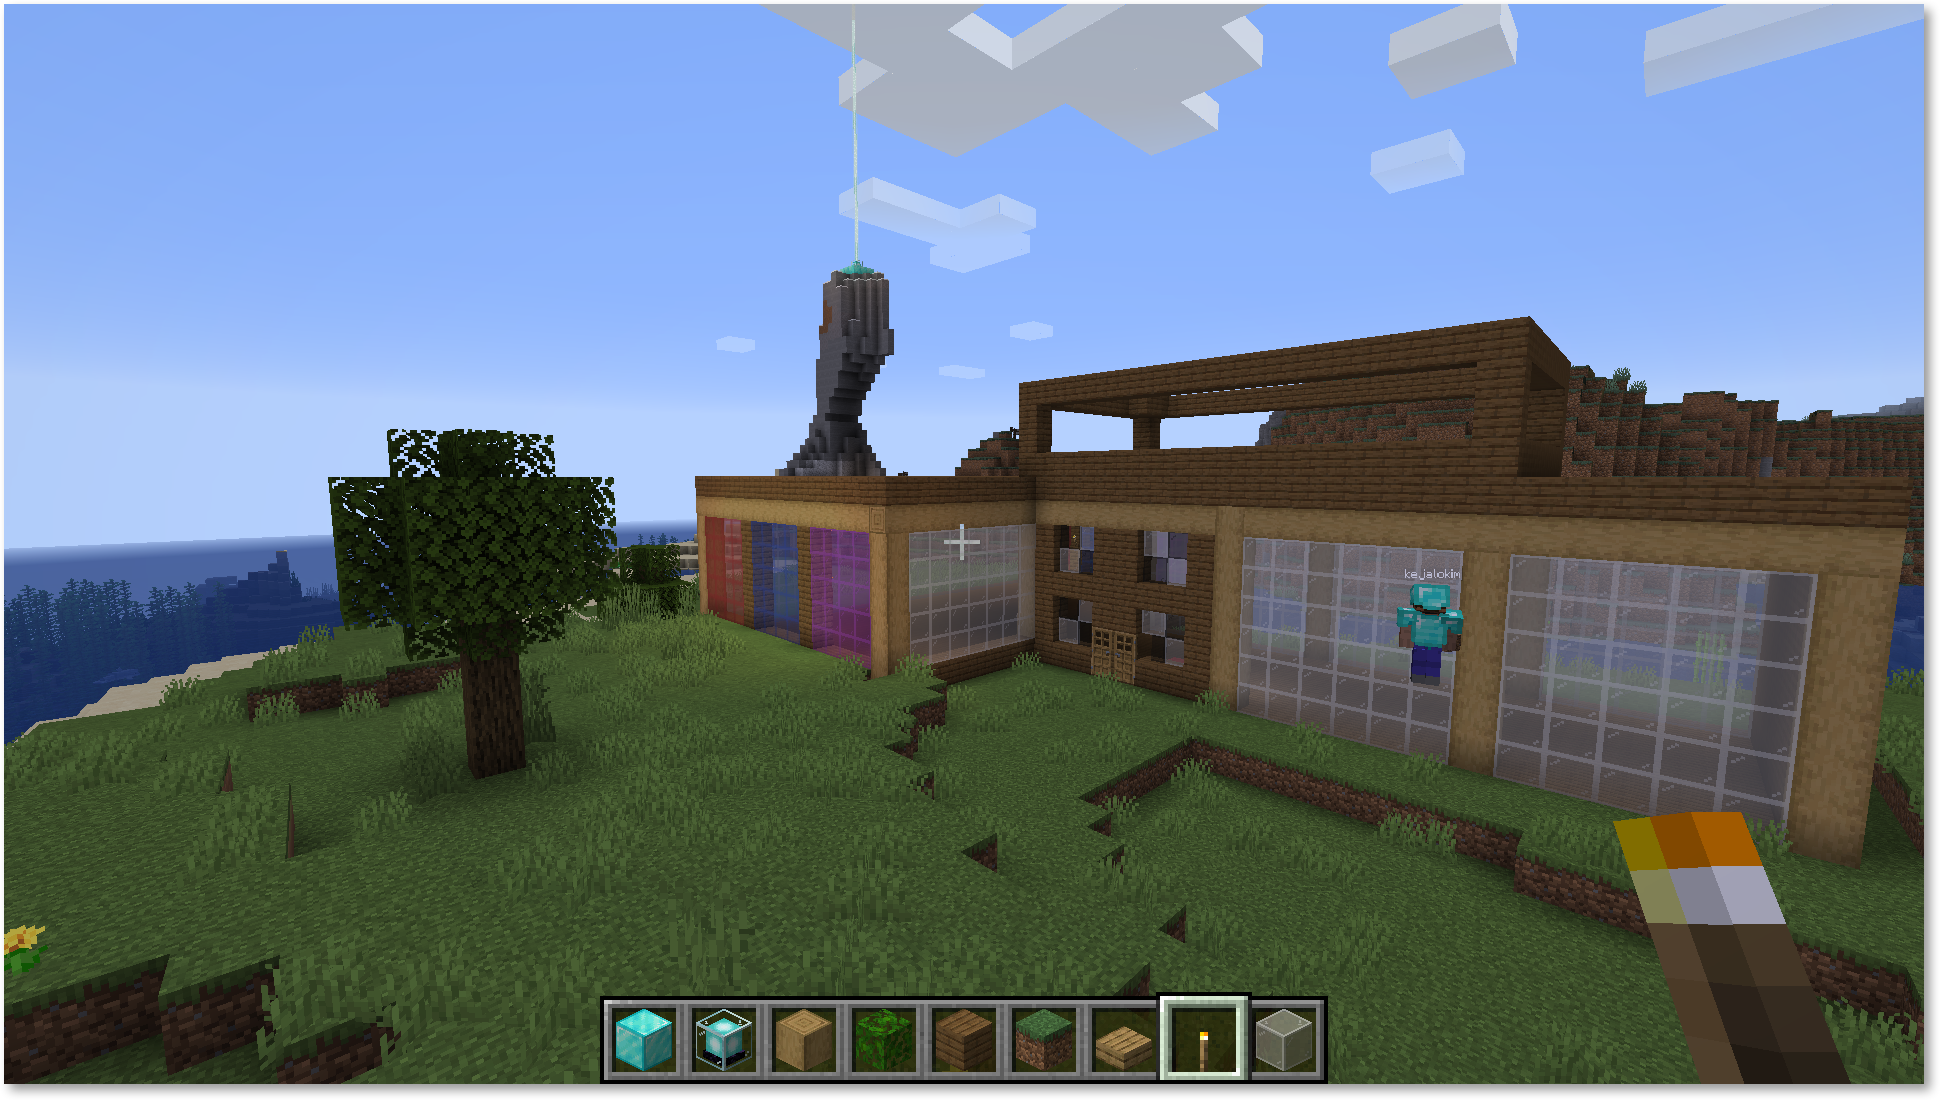
12. Check out the tree we have made there ;)