How to clean your hard drive in OS X – completely
If you ever wanted to swipe out the data from the hard drive, you can use “Erease” option from Disk Utility
Note! This method ensures that you clean only free space on the hard drive!
1. Start Disk Utility
Applications -> Utilities -> Disk Utility
2. Select hard drive to erase in the left panel
3. Select: Erase -> Erase Free Space…
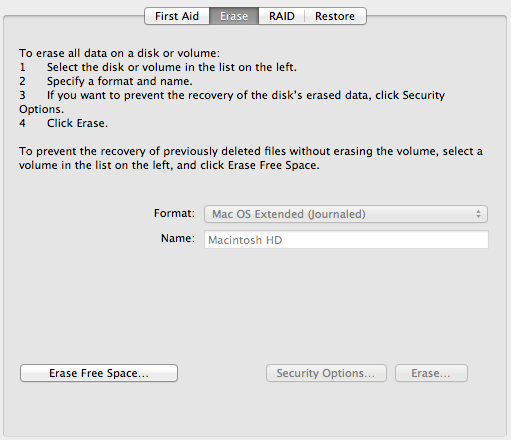
4. You will have three options to choose. Fastest, Secure (slower) and Most Secure (quite time consuming)
Note! I have no idea why Apple decided to mix the metrics here. Lowest security is called Fast, and Most Secure doesn’t imply 7 times longer processing time.
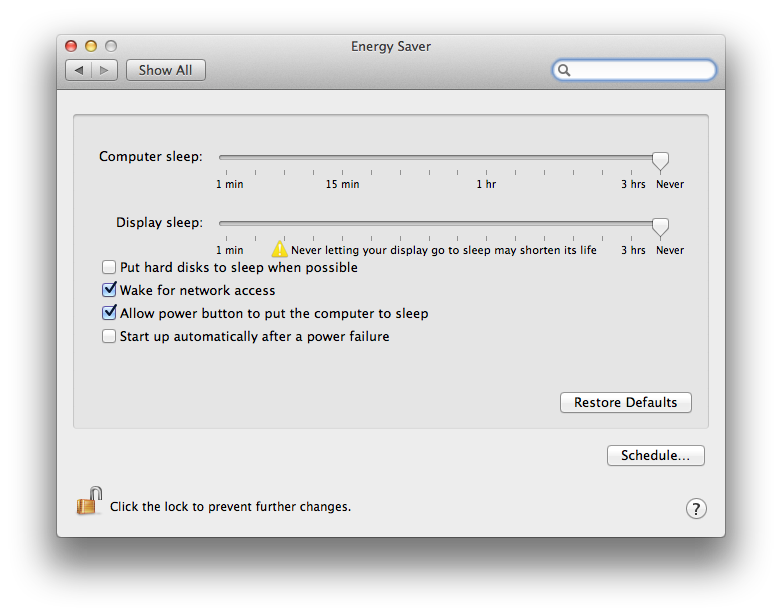
5. Before you start erasing your disk, make sure to disable power safety rules
System Preferences -> Energy Saver
6. Start erasing, and make loots of coffee. You will need it.
Note! One pass erase takes approx. 2-3 hours to erase 500GB disk. If you decide to use multi pass erase, it will take considerably longer.
Note 2! In Mountain Lion, maximum overwrite multiplier is set to 7 passes. It will take approx. 12-15 hours to erase 500GB disk. Basically, you have three options here:
- 1 pass
- 3 passes
- 7 passes
For extra safety, you can use Snow Leopard’s Disk Utility (if you have Installation disk). There, you have three options as follows:
- 1 pass
- 7 passes
- 35 passes
35 passes is what you can call really detailed erasing :)
Have fun!